
"IT is like a shark, if you stop moving you will die!"
Vladimir Dejanović
How to make stop-motion video in an easy way with your child with no special technology
18 Jun 2022 5 min readAll kids, and some adults, like to watch cartoons. When I was a kid I wanted to make my own cartoons, however it wasn't an easy thing to do, and you needed professional equipment to make them. Kids today are in much better situation compared to how it was for me when I was a kid. Technology which is at our fingertips today can allow anyone to create almost anything that they can imagine.
Let us take a look at how we can easily make a stop-motion video with our child.
Why Stop-motion movie?
Let me first explain why I think that stop-motion is the right choice. We can use whatever we have already laying around the house, some toys or similar, so we don't need to create characters, also for creating scenery we can again use things that we already have at home. So far very easy, right :)
In order to make stop-motion movie, we need to make only pictures, again a lot of ways to do it, also if we make mistake it is easy to fix.
Equipment
For recording pictures we can use anything that can create a picture, in worst case we can use mobile phone. In my case we used a simple webcam that is connected to a PC over USB cable. WebCam was mounted on tripod so in that way we could make sure it is stationary and in a good position compared to "actors".
Action
If we want to have a smooth movie we would aim at 23 pictures per second. However, reality is that probably our child will not have the patience to make so many shots, with such small changes in scene for every second of our movie. Don't worry about this, even with 2 shots per 1 second you can get amazing results.
If you have Windows machine, you should have application Camera. You can use this app to record pictures for your move, and they will be placed by default into Pictures\Camera Roll. Also if you attach camera over USB to the PC you can switch to it, in case you have a built in camera in your PC. Using external camera that have long USB cable and that is mounted on a tripod or similar will make sure that all pictures are taken from the same angle, and that we can position it just like we want. As said before we can also record pictures using mobile phone, in that case try to use some holder for phone, or have very steady hands :D
Once we have all the pictures that we need, we can go to the next step of making a movie
Making a movie
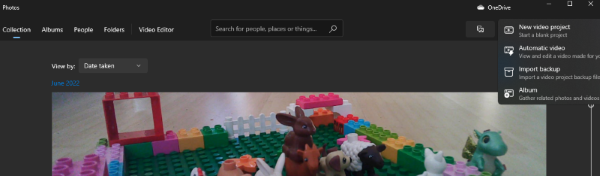
If you have Windows, simplest way to make video out of your still pictures is to use application Photos. Let us start it and click on New Video Project.
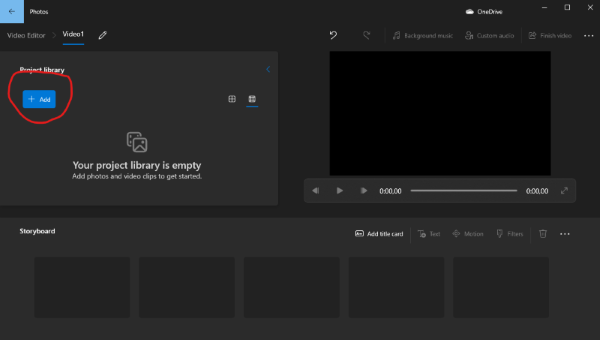
Let us put some name, for example video1. Now let us add pictures. Let us click on button Add, and select all pictures that we recorded. Let us select option from the PC and navigate to our pictures.
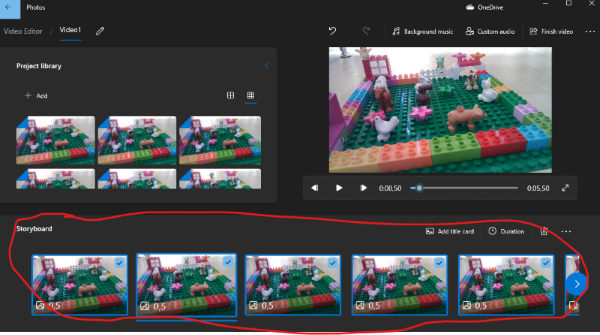
If your pictures are not selected, select them and click on Place in Storyboard.
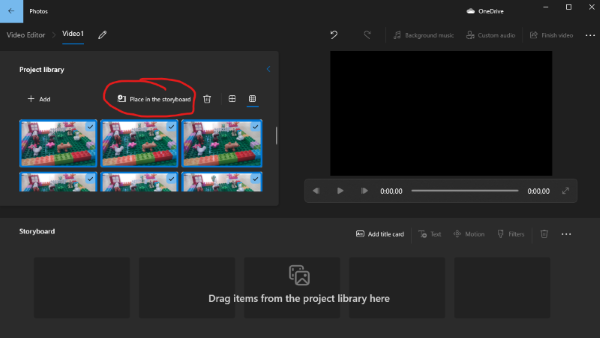
If your pictures are named in chronological order, and you added them all at once in storyboard, they should be put in good chronological order.
Edit
By default each picture will be on the screen for 3 seconds. We can easily change this. Let us put 0.5 seconds for all pictures. Let us click on a picture in the storyboard, and then CRTL+A should select them all. Then let us click on Duration and enter 0,5.
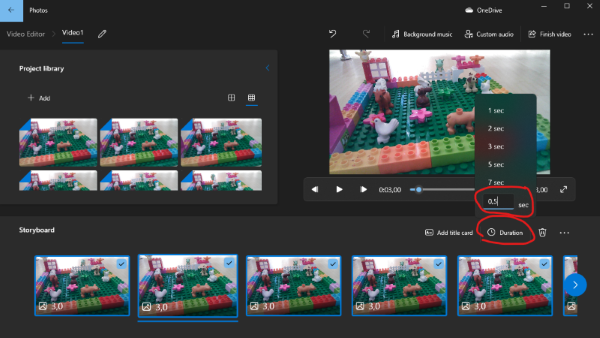
Let us play the movie and see if the speed is ok, and if duration needs to be adjusted. My suggestion is to play with it, and see what makes most sense in your case, also you can decide to have longer or shorter duration for some parts.
In Story board part
We can reorder images, remove them, but also add new images if we want to. We can really edit our video as we see it fit.
We can call it a day and export the video that we can share with our friends. However there is still no audio.
Adding Audio
Let us create some audio and add it to our video. Once Again if you have Windows machine, easiest way is to use application Voice Recorder in combination with any microphone. After we record our audio, it should be automatically saved to our PC at Documents\Sound recordings.
Once we have an audio let us go back to our Video Editing tool. Let us click on the Custom Audio

Select part of the movie at which you want to add audio and then click on Add the audio file
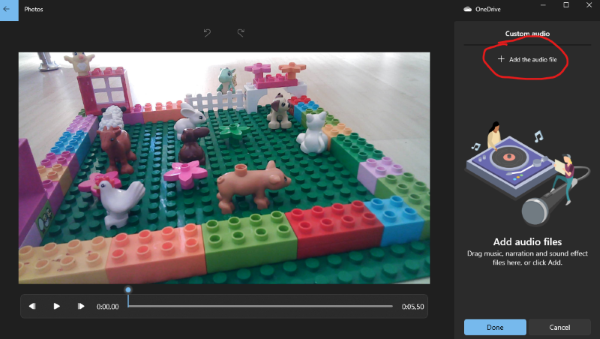
Select your audio, make sure it is positioned at the right time and that is it. You can repeat this process as many times as you like.
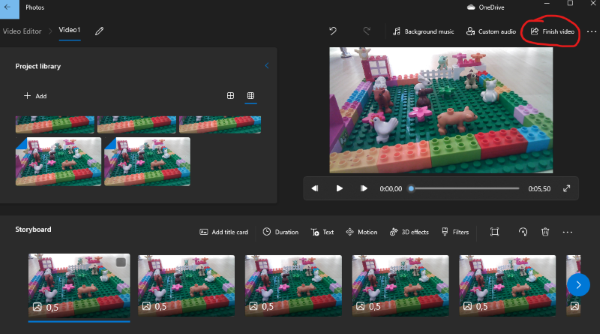
Final product
We recorded all pictures, recorded all audio, we combined them and we edited the movie in the way we wanted. The only thing left now is to create the movie and enjoy it. To create a movie click button Finish video select where you want to store it and that is it.
Congratulations you managed to make your first Stop-Motion video or cartoon with your child.